MetaHuman is a complete set of tools for creating and animating realistic digital humans for cinema, cutscenes and games. Read on, to discover how you can make your own digital copy of yourself.
As we speak, Metahuman is becoming a constellation of tools and plugins that streamline the process of creation and vastly reduces time required to create top-quality characters. Let's look at one of common use cases:
As a big game developer
GIVEN I hired a famous actor for my multi-million-budget game
THEN I want that character to be directly present in-game, as if it would be a movie, with this actor playing a role.
Making a digital copy of a real person to be used in film is not a new concept. Such feats have been achieved for years already. With MetaHuman, this difficult process has become much simpler, accessible for everyone, and significantly faster. I will will try to become a MetaHuman too, and take you along on the journey.
Step 1: 3D Scan
The first step is to create a 3D scan of my face, so that we can mold a metahuman into the shape of my face. To achieve this, I will use Polycam, an app for my iPhone.
Polycam is an app, which takes pictures of an object as input and produces a 3d object as a result (3D scanning).
I took ~110 photos from different angles. A good approach is to take some pictures from above, some from below and some at eye level. Not an easy task when one has to be still and look in only one direction.
Next, I reviewed all the photos and removed those that were blurry or out of focus.
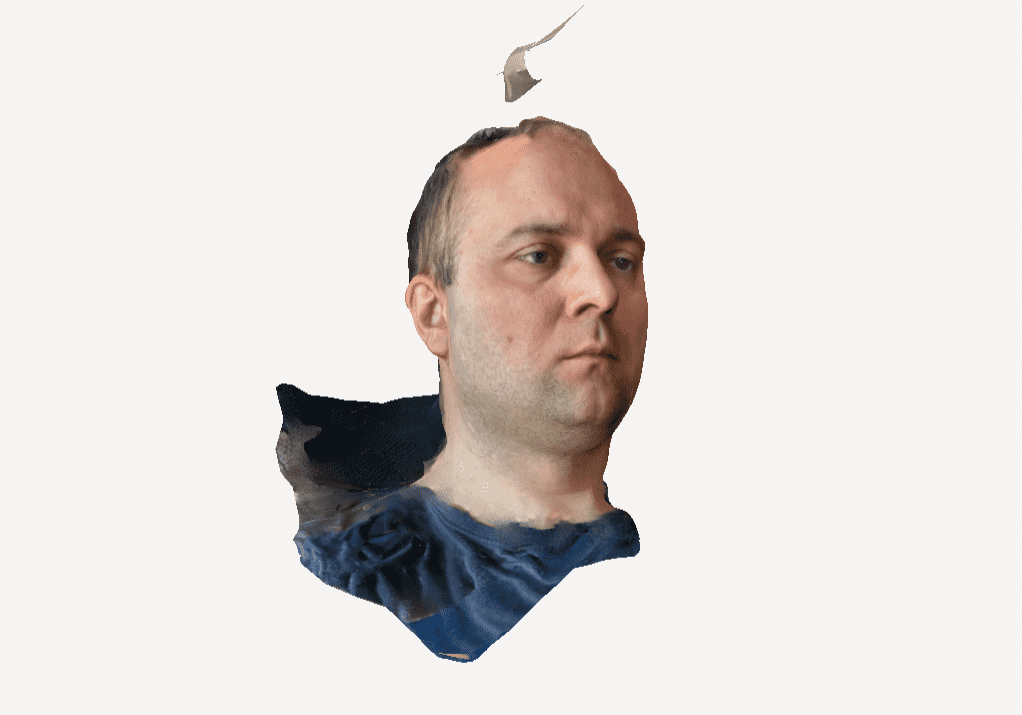
A few moments later, I have a scan of my face. On close inspection, one can notice that the texture is blurry in certain
areas (probably a result of a blurry photo that I missed). I am not concerned about it, since I most likely won’t be
able to reuse the texture. All I care about is the 3d model. This is the end result:
 The last thing remaining is the export of the model in the GLTF format (the only one that comes free in the trial
version of Polycam).
It is worth noting that while for the entertainment puproses this scan is "good enough", in a professional scenario, we would do things a little differently. We would use much more photos, a better camera, and we would position the camera on the same planes to limit warping of the 3D scan.
Step 2: Clean-up
The next step is cleanup. Polycam has done the heavy lifting for us, but in order for the scan to be usable by Unreal Engine and MetaHuman Creator we have to clean it up. This consists of following steps:
- merge by distance (3D scan comes fractured with loose elements of the model),
- remove parts of the model that are not needed (All we care about is the face),
- delete loose vertices.
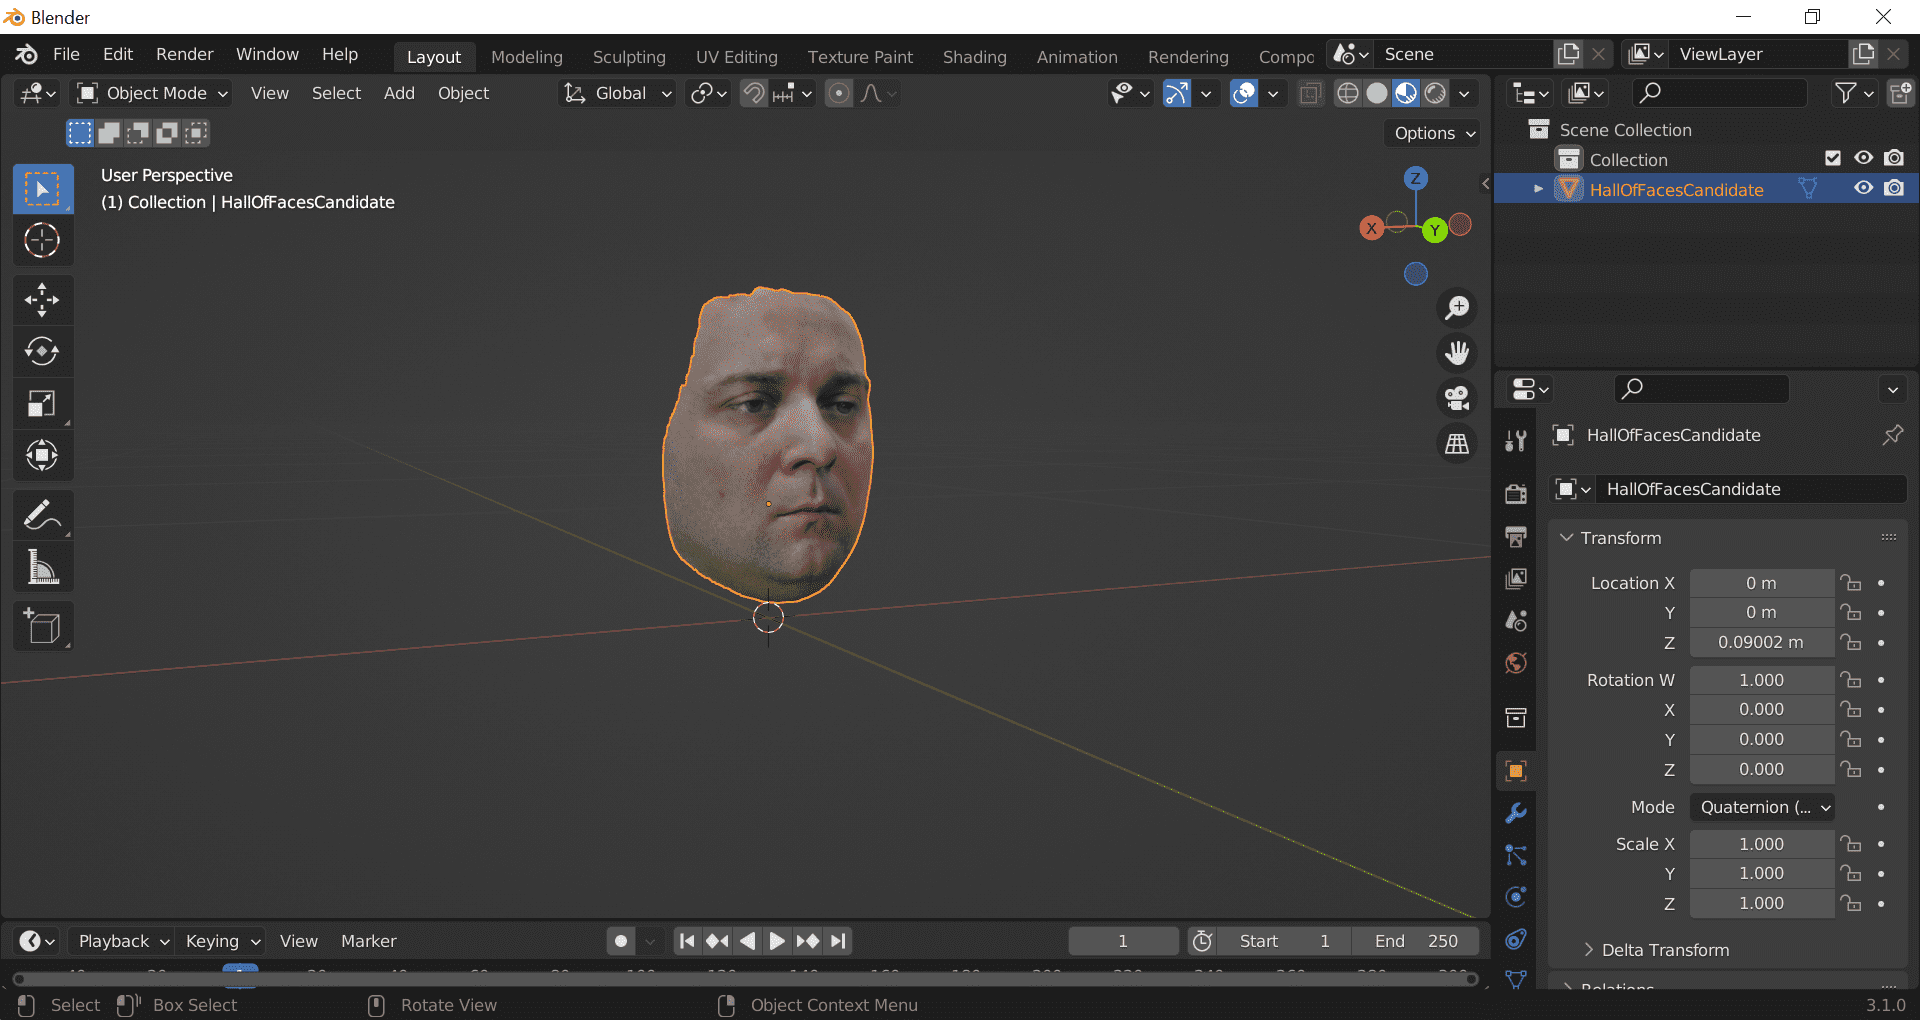
For that we will use the great and free Blender. We import the GLTF file we got from Polycam and start the process.
First: remove parts of the model that are not needed. Hair, neck, ears, part of the shoulders, we simply remove by
selecting the verteces in the edit mode.
Second: using Blender's built-in features, we remove loose vertices and apply merge by distance.
We are done here, time to export our work and get ready for Unreal. For those that would like to follow, here are the export settings:
- Export: FBX
- Object Type: Mesh
- Export only selected objects
- Path Mode: Copy
- Select: Embed texture
Step 3: Unreal engine (mesh to MetaHuman)
Finally we get to do something inside Unreal Engine. We need to select the most recent version of Unreal Engine that
supports MetaHuman. In my case, that was 5.1.1, but at the time you read it, it might be 5.2 already or newer.
When opened, we need to create a new project (type of projects only differ by initial project settings). I chose Film/Video -
blank project, but a Game 3d template would also be a good option.
Before we begin, we need to enable required plugins – In project settings, under Plugins, make sure you have the MetaHuman plugin enabled.
Next is the import of the 3d scan: Open content browser, create a new folder and import FBX file that we got from
Blender (simply drag and drop into unreal content browser from your folder).
Time to create a new file for MetaHuman – Use the Add button and browse for MetaHuman Identity. Once you open the
newly created file, you will most likely need to authenticate, using your Epic account. Next, use Components from Mesh
and add the 3D scan. Once added, it is time prepare for face transplant:
- Correct camera, so that face scan fills in the viewport
- Change Field of View to 15 degrees
- Select unlit view mode
- Click on Neutral Pose and Promote the frame
- Click Track Active Frame & do some corrections if necessary
- Click MetaHuman Identity Solve
What have we accomplished with those actions? We took our 3d Scan and used it as a mould. MetaHuman character took shape of our 3D scan. We can now send it to MetaHuman Creator (Mesh to MetaHuman button).
Step 4: MetaHuman Creator
Upon login to the MetaHuman website (metahuman.unrealengine.com) we will be able to select our newly created character from the My MetaHumans section.
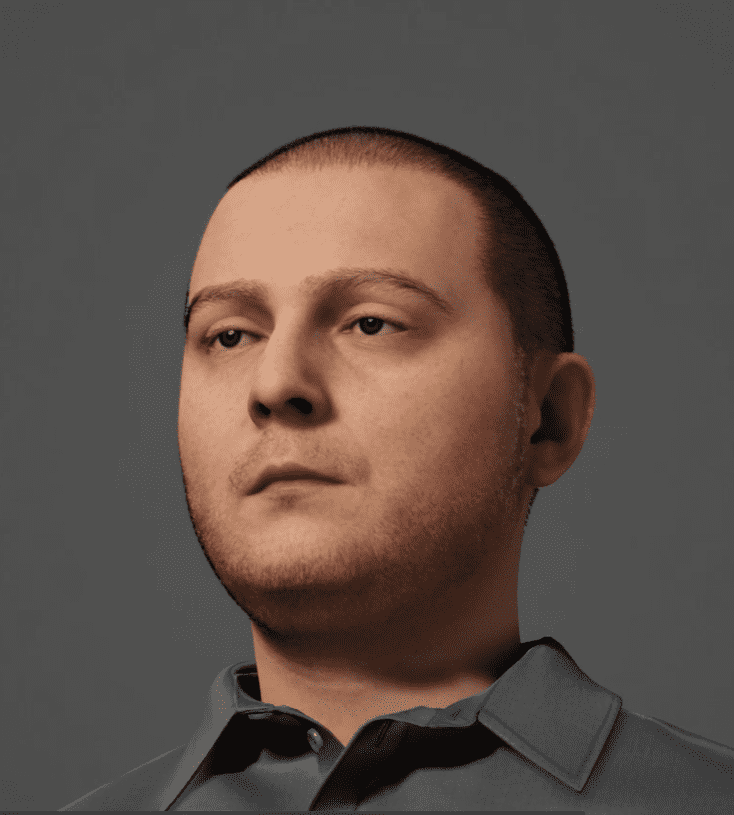
By using Metahuman tools you can select skin tone and adjust facial features, change chair, etc.
At this stage, we are mostly done. We can Either export our MetaHuman and import it back to Unreal Engine, or we can keep working on it using MetaHuman Creator or other external tools.
Step 5 & 6 Additional work for more realism
This concludes the mandatory steps necessary in the mesh to MetaHuman workflow. In the standard workflow, we could import it into the Unreal Engine and begin animating the character for cinematics, movies or games(as those come up ready for animation). There are 3 additional steps which branch out at this stage of character creation:
Skin:
Then Skin is off. It is too pristine. Fits a young 20+ years character. Unfortunately, I am not 20 anymore, so to make it more realistic I would need to recreate my skin textures using my own photos as a reference. One way to do it would be to use Substance Painter. A good quality texture of a skin is difficult to produce. While the topic is interesting, I will skip it, as it is out of scope of this blog.
Hair:
Second is the eyebrows and hair. Those need to be as close to the original as possible, to resemble a real person. Such details make or break the immersion/image of a person. Metahuman Creator offers more and more hair/beard/eyebrows options, but if none fit, the only option is to create your own in a separate dedicated software and import it back to Unreal Engine for integration.
Clothes & accessories:
Characters use & wear a number of accessories and clothes, which have to be modeled and textured separately and then moved to Unreal Engine for integration & testing.
Summary
Mesh to MetaHuman workflow speeds up the process of creating realistic characters. As an end result you receive a high-fidelity textured model, rigged (a rig is a skeleton-like structure used to animate the model) and ready for animation.
In case we want to create a character, which the face of a famous actor, we need to go an extra mile to achieve great results. Quality is not free, but thanks to MetaHuman it is getting much cheaper & quicker.
Hero image source
Featured image source

